Does Podcast Audio Quality Matter and What Does It Need?
Yes, podcast audio quality matters significantly because it directly affects listener retention, credibility, and how platforms recommend your show. Listeners judge whether to keep listening within the first 30 seconds, and audio quality is one of the first signals they respond to.
Achieving good audio doesn't require expensive equipment. A decent USB microphone, controlled recording environment, proper microphone technique, and correct recording settings produce professional results affordably. Environment and technique matter more than gear cost.
There is a version of this conversation that ends with someone telling you to spend thousands on equipment before you record a single episode. That is not this guide.
Podcast audio quality matters. It matters more than most new podcasters expect, and it matters in ways that go beyond simply sounding professional.
This guide explains why sound quality affects everything from listener retention to perceived credibility, what your recording actually needs to achieve great audio, and the recording settings and habits that make the biggest difference without requiring a professional studio or a large budget
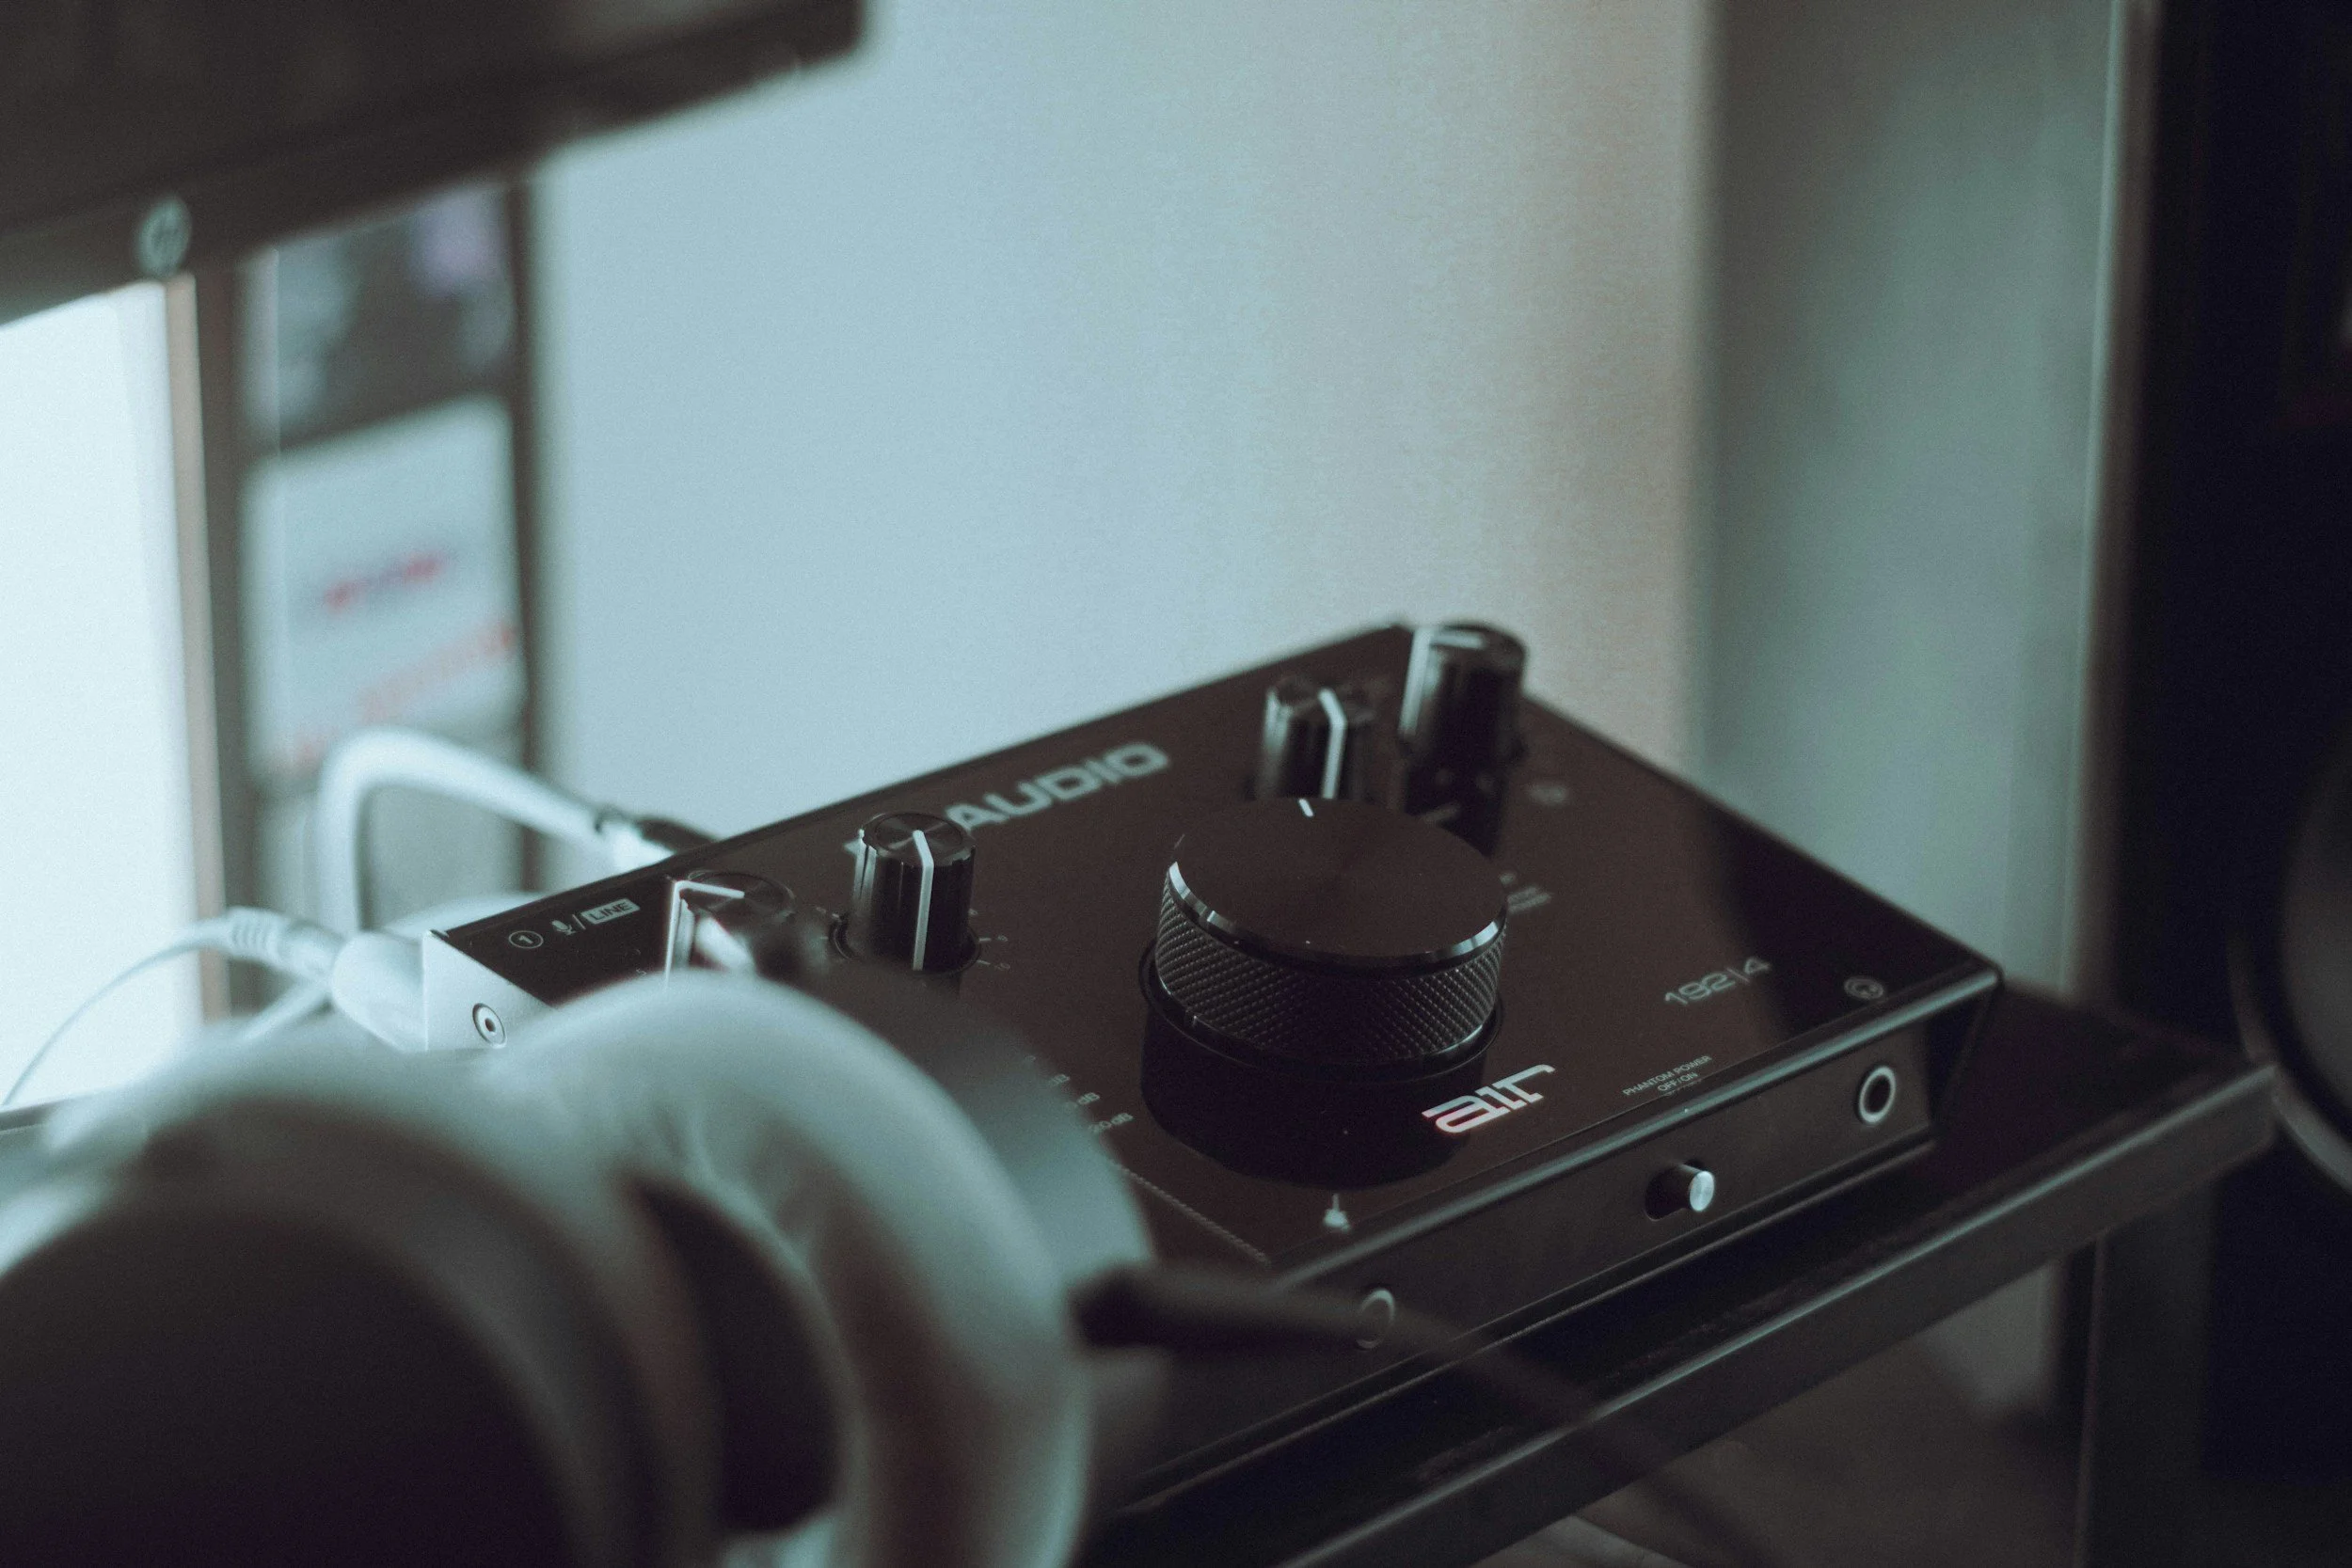
Table of Contents
Why Audio Quality Matters More Than You Think
Podcasting is an audio medium. That sounds obvious, but the implication is easy to underestimate. When someone listens to your podcast, your voice is the entire experience. There is no video to focus on, no visual story to carry the message, no screen to look at while the sound plays in the background. Your voice and the clarity with which it is captured is everything.
Listeners make a judgment about whether to keep listening within the first thirty seconds of a new podcast. Audio quality is one of the first signals they respond to, often without consciously realising it.
A show that sounds clean and clear feels credible. A show with poor audio, background noise, or distortion feels unprofessional, and that perception attaches itself to the content regardless of how good the conversation actually is.
The comparison listeners make is not against other podcasts in your niche. It is against the best audio they have ever heard, which includes radio, professionally produced music, and the top podcasts they already listen to regularly.
Those channels have invested in sound quality, and listeners carry those standards into everything they hear. That is the bar your podcast is being measured against, whether you know it or not.
Audio quality matters for credibility too. Research consistently shows that listeners rate speakers as more intelligent, more trustworthy, and more authoritative when the audio quality of their recording is higher.
The same words, the same story, the same expertise, delivered through a clear professional microphone versus a laptop mic, are perceived very differently. Your message deserves to be heard clearly.
What Poor Audio Actually Does to Your Podcast
Poor audio quality does not just make your podcast sound wrong. It actively works against everything you are trying to achieve.
Listening fatigue is the most immediate problem. When audio is unclear, compressed, or full of background noise, the brain works harder to process the words being said. Listeners can focus on the story and the conversation when the sound is clean.
When they are straining to hear through noise or distortion, that cognitive effort builds up quickly. Most listeners will not consciously identify listening fatigue as the reason they stopped an episode. They will simply stop and not come back.
Poor audio also affects how your podcast performs on platforms. Apple Podcasts and Spotify both track listener behaviour, including how far through an episode people get before they drop off. Poor audio quality increases early drop-off rates, which signals to the platform that your content is not keeping listeners engaged.
That affects how your episodes are recommended and how easy it is for new listeners to find your show.
Poor audio makes podcast editing harder, too. Background noise, distortion, and clipping are difficult to remove cleanly in post-production. You can achieve a lot with editing software, but there is a ceiling to how much you can recover from a poor recording.
Fixing audio problems in editing takes significantly longer than preventing them at the recording stage, and the results are rarely as good as getting it right from the start.
For remote interviews specifically, poor audio on a guest's end can undermine an entire episode. When one voice is clear, and another is muddy or filled with noise, the imbalance is jarring for listeners and reflects on the show as a whole, even if the host's setup is fine.
What Good Quality Audio Needs
High quality audio does not happen by accident. It is the result of a few things done consistently well. None of them are complicated, and most do not cost anything beyond an initial equipment investment.
A Decent Microphone
Not all microphones are created equal, and the gap between a laptop mic and a dedicated podcast microphone is significant. A good microphone captures your voice with clarity across the full range of frequencies that make speech sound natural and warm.
It rejects unwanted signal from the sides and rear of the mic, which reduces background noise pickup and keeps focus on the person talking.
A dynamic microphone is the most practical choice for most podcasters. Dynamic mics are less sensitive to room noise than condenser microphones, which makes them more forgiving in imperfect recording environments.
They handle loud voices and close-mic talking well without distortion, and they do not require phantom power, meaning you can connect them directly to a computer via USB or through a simple audio interface without additional equipment.
Popular USB dynamic mics in the sub-$100 range produce genuinely good results for podcast recording. If you are recording with multiple guests in person, audio interfaces allow you to connect multiple mics to a single computer and capture separate channels for each speaker, which gives you much more control in editing.
A Controlled Recording Environment
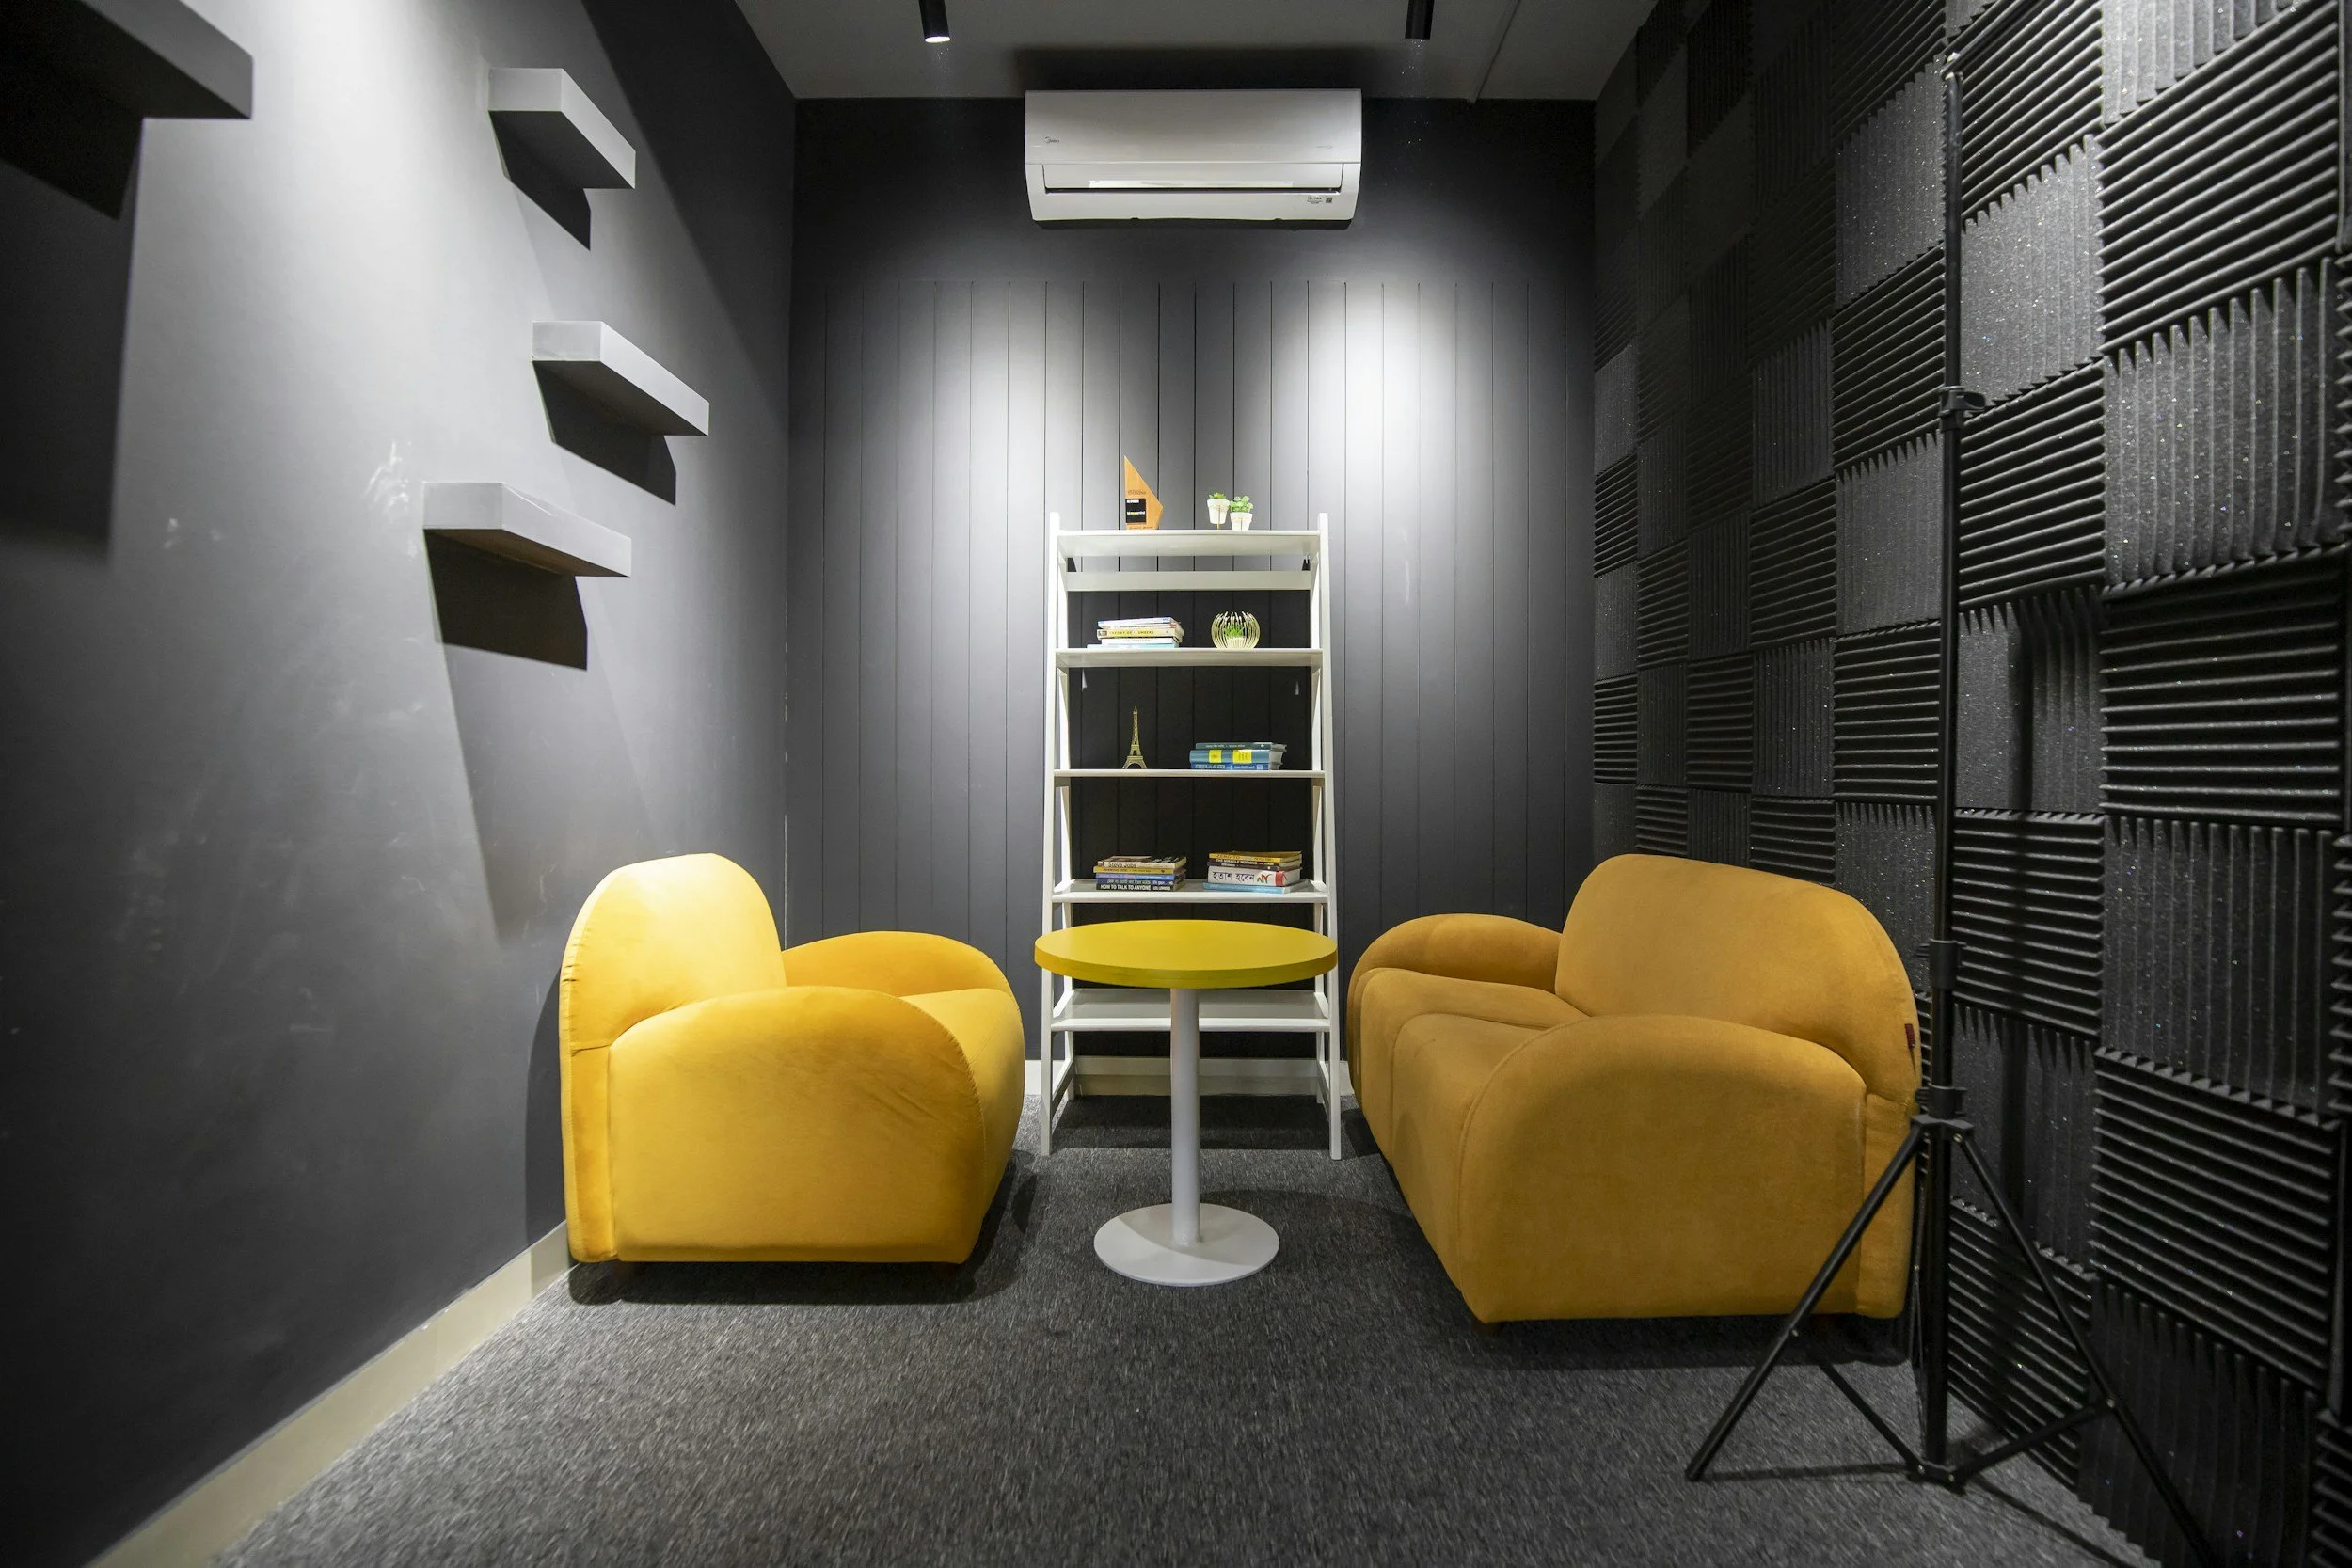
Your recording environment has as much impact on sound quality as your microphone. A quiet room with soft furnishings absorbs sound reflections and reduces the echo and reverb that make voices sound thin or distant.
Hard surfaces like bare walls, wooden floors, and large windows reflect sound back into the microphone and create a room tone that sits underneath your voice and makes the recording feel hollow.
Background noise is the other key variable in your recording environment. Air conditioning units, traffic, fans, refrigerators, and other household appliances all produce a constant noise floor that microphones pick up alongside your voice. The lower the noise floor in your recording environment, the cleaner your signal.
Closing doors and windows, turning off appliances, and recording in a carpeted room with bookshelves and soft furnishings will achieve better results than most acoustic treatment panels at a fraction of the cost.
Microphone Technique
How you position yourself relative to the microphone affects audio quality more than most people expect. Speaking too far from the mic reduces the signal and increases the ratio of room noise to voice. Speaking too close can cause distortion on loud sounds and harsh frequencies on certain consonants.
The right balance for most dynamic mics is around six to ten centimetres, speaking slightly across the mic rather than directly into it, which reduces plosive sounds on words beginning with P and B.
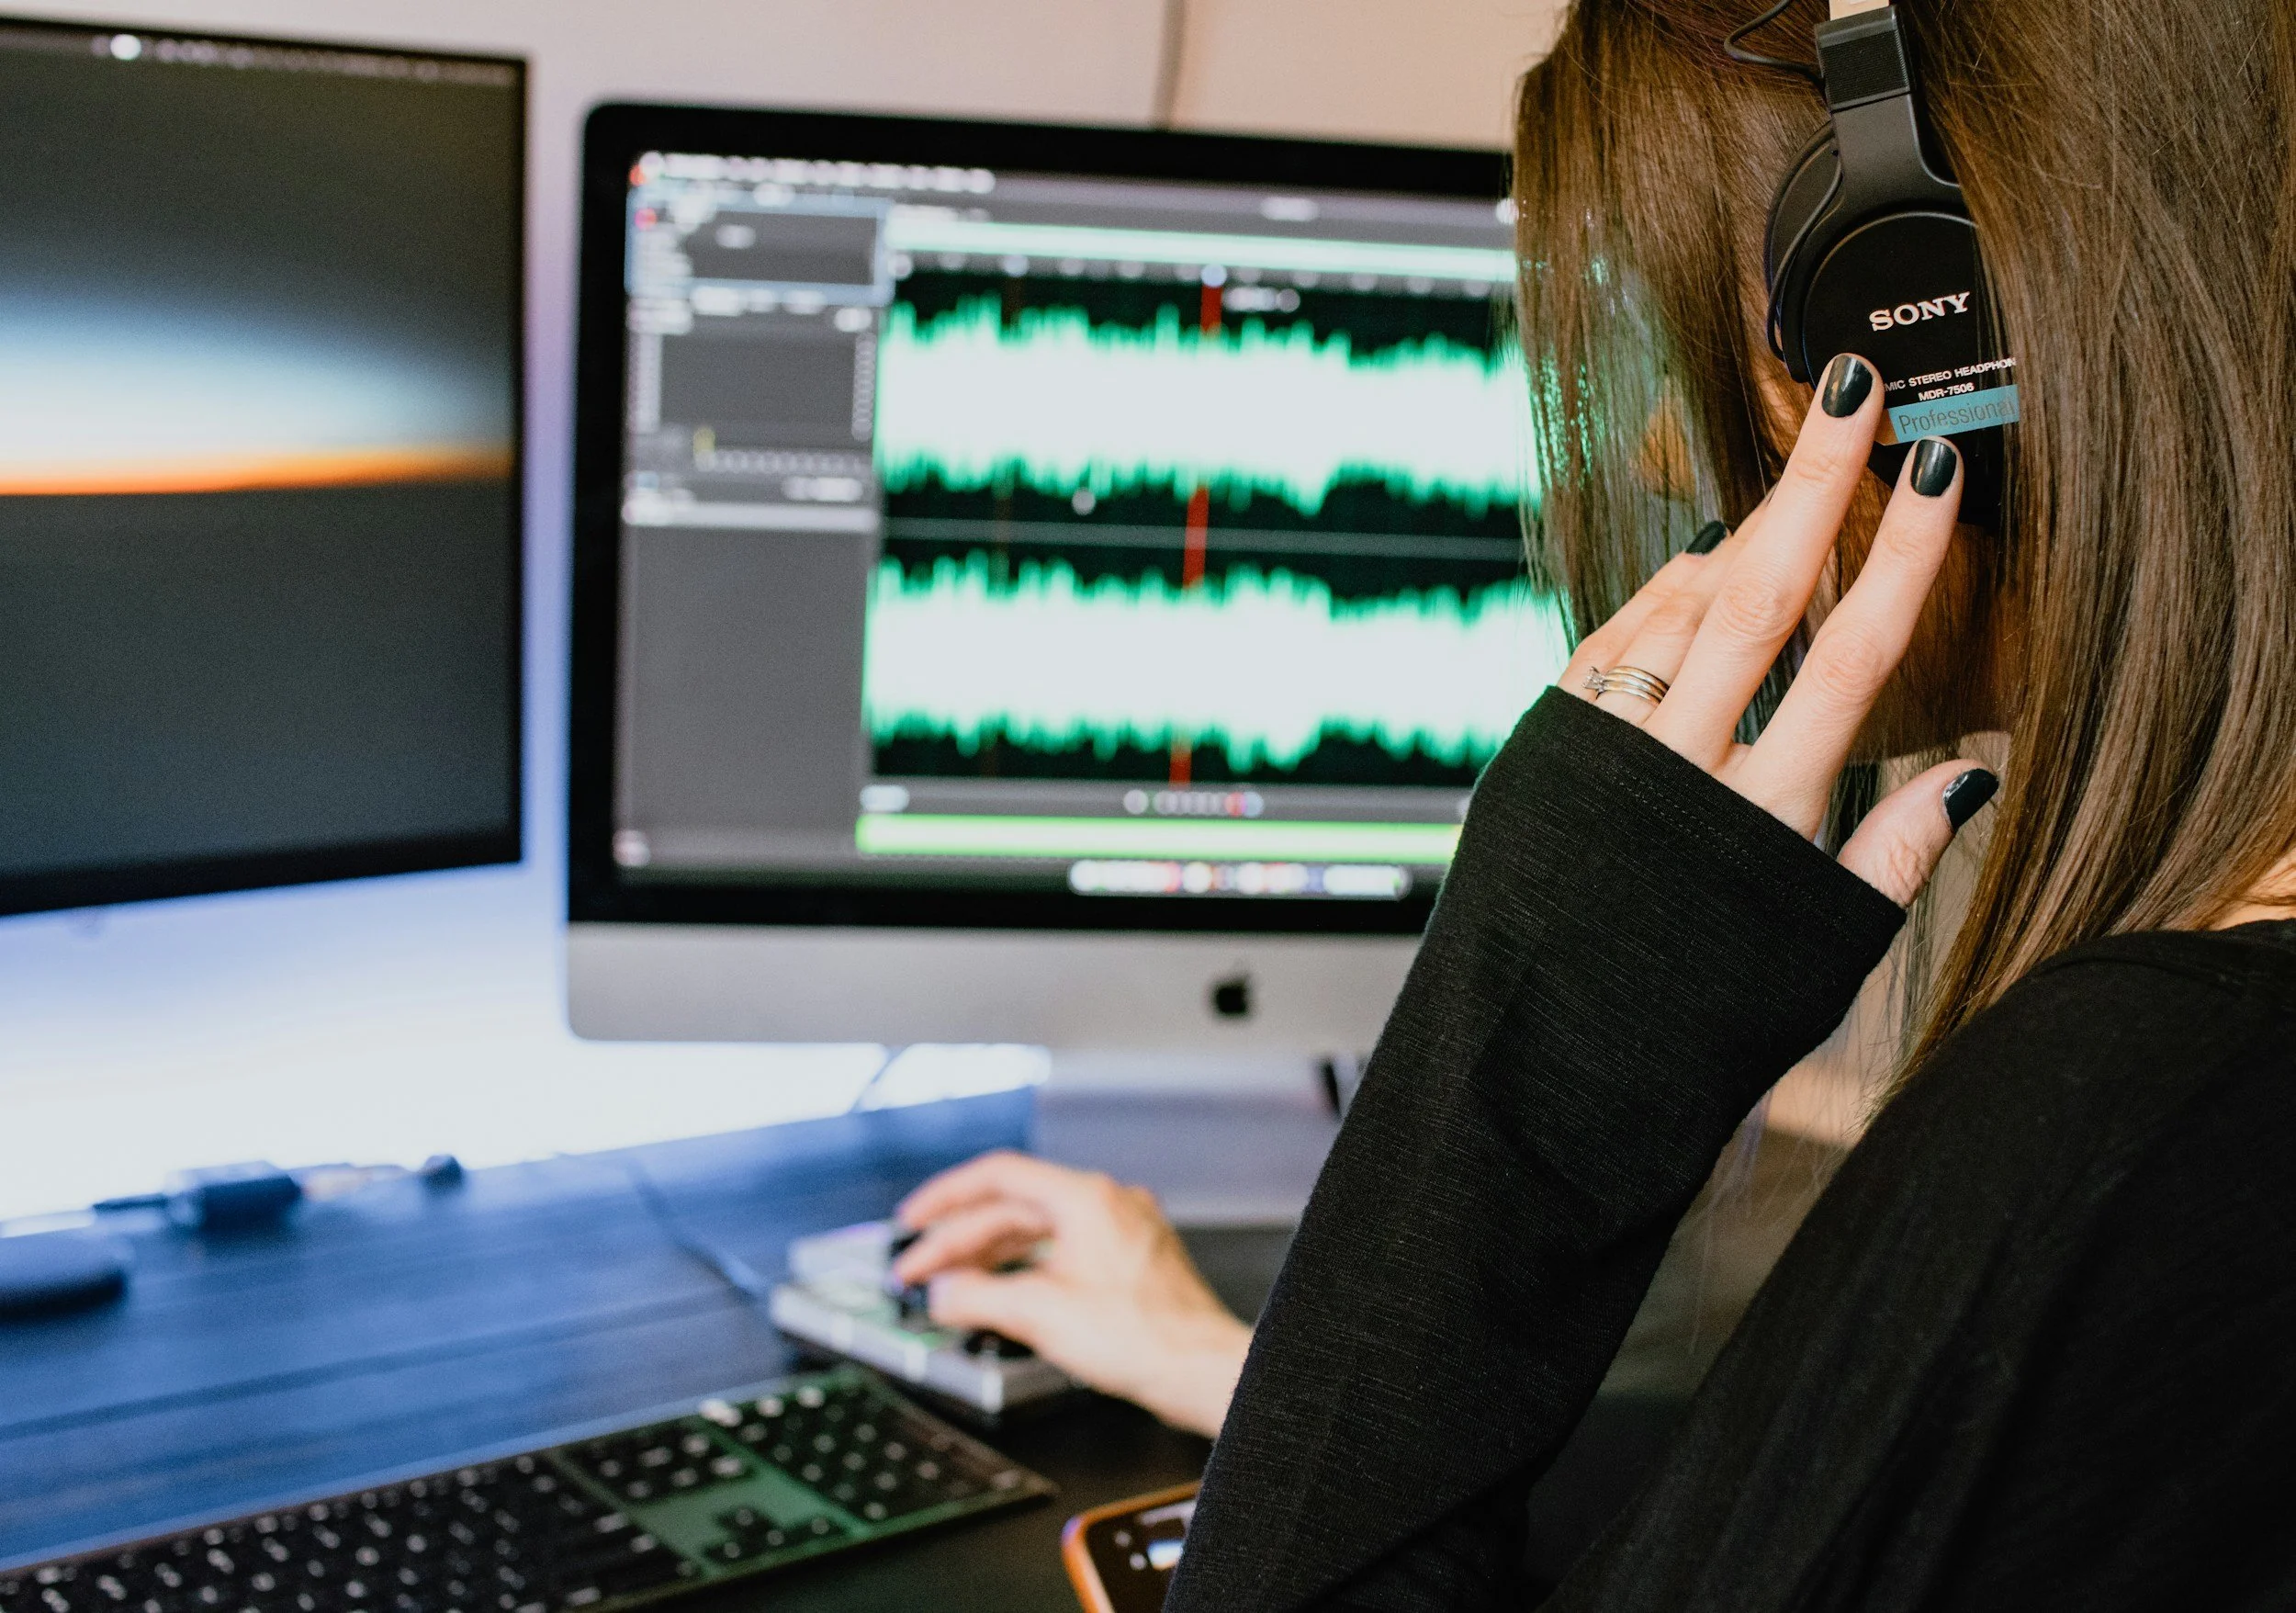
Wearing headphones while recording lets you hear exactly what the microphone is capturing in real time. This is one of the most reliable ways to identify problems with your sound before they make it into the final episode.
If something sounds wrong through your headphones, you can adjust your position or environment immediately, rather than discovering the issue in editing.
Recording Settings That Make a Real Difference
Getting your podcast recording settings right before you record is one of the most underrated steps in the production process. Even a great microphone in a well-treated environment will produce poor results if the recording settings are wrong.
Input levels are the first thing to check. Recording too quietly means you will need to boost the signal in editing, which also boosts noise and reduces clarity.
Recording too loud causes clipping, which is a form of distortion that occurs when the signal exceeds what the recording equipment can handle. Clipping cannot be repaired in editing.
Aim for your voice to peak at around minus twelve to minus six decibels, leaving enough headroom so that sudden loud moments do not clip.
Sample rate and bit depth affect the quality of what is captured. For podcast recording, a sample rate of 44.1kHz or 48kHz and a bit depth of 24-bit gives you more than enough quality and dynamic range for a professional-sounding result. These settings are available in most recording software and are worth checking before you start recording each session.
File format matters too. Recording to an uncompressed format like WAV preserves the full quality of the original signal and gives you the most flexibility in podcast editing. MP3 is fine for the final exported file that listeners hear, but working with compressed files in editing reduces your ability to adjust and process the audio effectively. Record in WAV, export to MP3.
Monitoring your recording with headphones while you adjust these settings lets you hear the effect of each change in real time. Run a short test before every episode and listen back before inviting your guest in. A few minutes of checking your setup is a reliable way to avoid discovering a problem after an hour of recording.
Common Audio Problems and How to Fix Them
Background Noise
Constant background noise such as an air conditioning hum, fan noise, or street traffic can be reduced significantly in podcast editing using noise reduction tools. Software like Descript, Adobe Audition, and Audacity all offer noise reduction processing that profiles the noise and subtracts it from the signal. The key is to record a few seconds of room tone at the start of each session before anyone starts talking, which gives the software an accurate noise profile to work from.
Distortion and Clipping
Distortion occurs when the audio signal is too loud for the recording equipment to handle accurately. The waveform gets clipped at the top and bottom, producing a harsh, broken sound that cannot be repaired after the fact. The only way to fix clipping is to prevent it. Keep your input levels in check, reduce your gain if voices are consistently hitting the top of the meter, and move slightly further from the mic if you tend to get loud when you get animated in conversation.
Room Reverb and Echo
If your voice sounds like it is bouncing around the room, you are dealing with reflections from hard surfaces. The most effective fixes are adding soft furnishings to the room, recording in a smaller space, or hanging a blanket or duvet around your recording area to absorb reflections. Some editing software can reduce reverb after recording, but it is a difficult problem to fix cleanly in post-production and is far better addressed at the recording stage.
Inconsistent Loudness
Loudness inconsistency, where some parts of a recording are significantly louder or quieter than others, is one of the most common audio issues podcasters deal with. A compressor, either in hardware form as part of an audio interface or in software during podcast editing, reduces the dynamic range of the signal and brings everything closer to a consistent loudness level. Most podcast editing tools include a basic compressor, and learning to use it effectively is one of the most useful skills you can develop for creating professional-sounding audio.

Do You Need Expensive Equipment?
No. The relationship between cost and audio quality is not linear, and the biggest improvements to your sound quality come from things that cost nothing. A quiet room, good microphone placement, correct recording settings, and consistent monitoring through headphones will produce better audio than expensive equipment used badly in a poor recording environment.
That said, there is a baseline of equipment that matters. A dedicated podcast microphone is worth the money, even at the budget end of the market.
The difference between a laptop microphone and a USB dynamic mic costing under a hundred dollars is not subtle. It is the kind of difference that listeners notice immediately, and it is an investment that pays for itself quickly in the credibility and retention it creates.
Beyond the microphone, the most valuable things to spend money on are a good pair of headphones for monitoring, a simple pop filter to reduce plosive sounds, and a reliable recording platform that captures audio at full quality.
Platforms like Riverside.fm and Descript both offer free tiers that are more than adequate for getting started, and their paid plans are cost-effective relative to the quality they deliver.
The vast majority of audio quality problems that podcasters face are not equipment problems. They are environment problems, technique problems, or recording settings problems. Focus on those first, and you will achieve better-quality audio than most people who spend far more on their setup.
Grow Faster. Create Smarter.
Red 11 Media is an educational platform and creative studio focused on driving growth online through strategic content creation. We help creators, brands, and businesses understand how to build sustainable audiences across YouTube, podcasting, and long-form digital content.
Final Thoughts
Podcast audio quality matters, and it matters in ways that compound over time. Poor audio drives listeners away before they have heard enough of your story to become fans. Good quality audio keeps people listening, builds credibility, and makes every episode you produce worth the effort you put into it.
You do not need to spend a lot of money to achieve great audio. You need a decent microphone, a quiet room, the right recording settings, and a reliable process for checking your sound before you hit record. Those four things, done consistently, will produce audio quality that listeners notice and respect. Everything else is refinement.
Frequently Asked Questions
-
Yes, significantly. Listeners make a judgement about whether to keep listening within the first thirty seconds of a new show, and audio quality is one of the first signals they respond to. Poor audio creates listening fatigue, reduces perceived credibility, and increases the rate at which people drop off mid-episode. The same content delivered through clean, clear audio performs better on every measurable metric than the same content delivered through poor audio.
-
Your podcast audio needs to be clean, clear, and consistent. That means minimal background noise, no distortion or clipping, a voice level that is easy to hear without adjusting the volume constantly, and a recording environment that does not add unwanted echo or reverb. You do not need studio-grade equipment to achieve this. A decent USB dynamic microphone, a quiet room with soft furnishings, and correct recording settings will get you to a professional standard that listeners respect.
-
The most common causes are a poor recording environment, incorrect recording settings, the wrong microphone for the space, and bad microphone technique. Background noise from appliances, traffic, or air conditioning is the most frequent issue. Clipping from recording levels set too high, room echo from hard reflective surfaces, and compressed audio from cloud recording tools like Zoom are the other main culprits. Most of these problems are preventable at the recording stage rather than fixable in editing.
-
A dynamic microphone is the most practical starting point for most podcasters. Dynamic mics are less sensitive to room noise than condenser microphones, handle close-up talking well without distortion, and work without additional equipment when connected via USB. Popular options in the sub-$100 range deliver genuinely professional results for podcast recording. If you are recording with multiple guests in person, pairing XLR microphones with a basic audio interface gives you separate channels for each speaker and more control over your sound in editing.
-
The most effective approach is to reduce background noise at the source before you record. Turn off appliances, close doors and windows, and choose a room with carpet, curtains, and soft furnishings that absorb sound rather than reflect it. If background noise is already in your recording, noise reduction tools in software like Descript, Adobe Audition, or Audacity can reduce it significantly by profiling the noise and subtracting it from the signal. Recording a few seconds of room tone at the start of each session gives these tools an accurate profile to work from.
-
Aim for your voice to peak at around minus twelve to minus six decibels to avoid clipping while maintaining a strong signal. Record at a sample rate of 44.1kHz or 48kHz and a bit depth of 24-bit to capture a full dynamic range with plenty of flexibility in editing. Use an uncompressed file format like WAV for your recording and export to MP3 for the final file that listeners hear. Check these settings before every session and monitor through headphones while recording so you can catch and adjust any issues in real time.

Red 11 Media is an educational platform and creative studio focused on driving growth online through strategic content creation. We help creators, brands, and businesses understand how to build sustainable audiences across YouTube, podcasting, and long-form digital content.