
Connect Multiple USB Microphones on PC & Mac
Introduction: Unleashing the Power of Multiple USB Microphones
To connect multiple USB microphones on Mac, use the built-in Audio MIDI Setup utility to create an Aggregate Device combining all microphone inputs. On Windows, install free software like Voicemeeter Banana to route multiple USB mics through a virtual audio mixer. Both methods trick your computer into recognising multiple microphones as a single audio device. Use a powered USB hub for stable connections, and match sample rates across software for clean audio.
USB microphones offer incredible plug-and-play convenience, but a common frustration arises when you try to use more than one at a time. Whether for a podcast, a live stream, or a collaborative recording, getting your computer to recognize and connect multiple USB microphones can seem impossible. If you are using XLR-connected microphones, an audio interface makes it simple to connect multiple mics, but it is different for USB mics.
The global USB microphones market was valued at approximately $1.4 billion in 2023 and is rapidly growing, highlighting a clear demand for simple, powerful audio solutions. This guide provides an easy way to connect and manage multiple USB microphones on both PC and Mac.
The Common Challenge: Why Using Two USB Microphones Isn't Always Straightforward
Simply plugging two USB mics into your computer often results in only one being recognized by your recording software. This isn't a flaw in your microphones; it's a limitation in how most operating systems handle separate audio devices by default.
Who Is This Guide For? Podcasters, Streamers, Musicians, and Online Collaborators
This guide is for anyone needing to capture audio from multiple sources simultaneously. With approximately 584.1 million people listening to podcasts in 2025, the need for multi-person recording setups is booming. Streamers, musicians layering instruments, and professionals in video conferences will all find these solutions invaluable.
What You'll Learn: Simple Solutions for PC and Mac Users
We'll walk through the specific, step-by-step processes for both major operating systems. Mac users will learn about a powerful built-in tool to create a "digital audio interface", while Windows users will discover free software that unlocks this capability.
Understanding the "Why": Why Computers Struggle with Multiple USB Mics
The Single Input Device Paradigm: How Your Computer Sees USB Microphones
Your computer is designed to see each USB microphone not just as a microphone, but as a complete audio device with its own internal clock for timing audio samples. By default, most recording applications are programmed to listen to only one of these "clocks" at a time.
Driver Conflicts and OS Limitations: The Core Technical Hurdles
When you connect multiple USB mics, the sound card, operating system, and your software get confused about which device's clock to follow. This conflict is the primary reason only one microphone is selectable, preventing a simple plug-and-play experience for multi-mic setups.
The Problem of Simultaneous Audio Streams: What Needs to Happen Behind the Scenes
To make this work, you need a way to trick your computer into seeing all your separate USB microphones as a single, unified audio input device. This requires either a built-in utility or a third-party software solution to act as a virtual audio interface.
Essential Pre-Setup for Success (PC & Mac)
Check price here.
Gathering Your Gear: USB Microphones, Cables, and the Importance of a Powered USB Hub
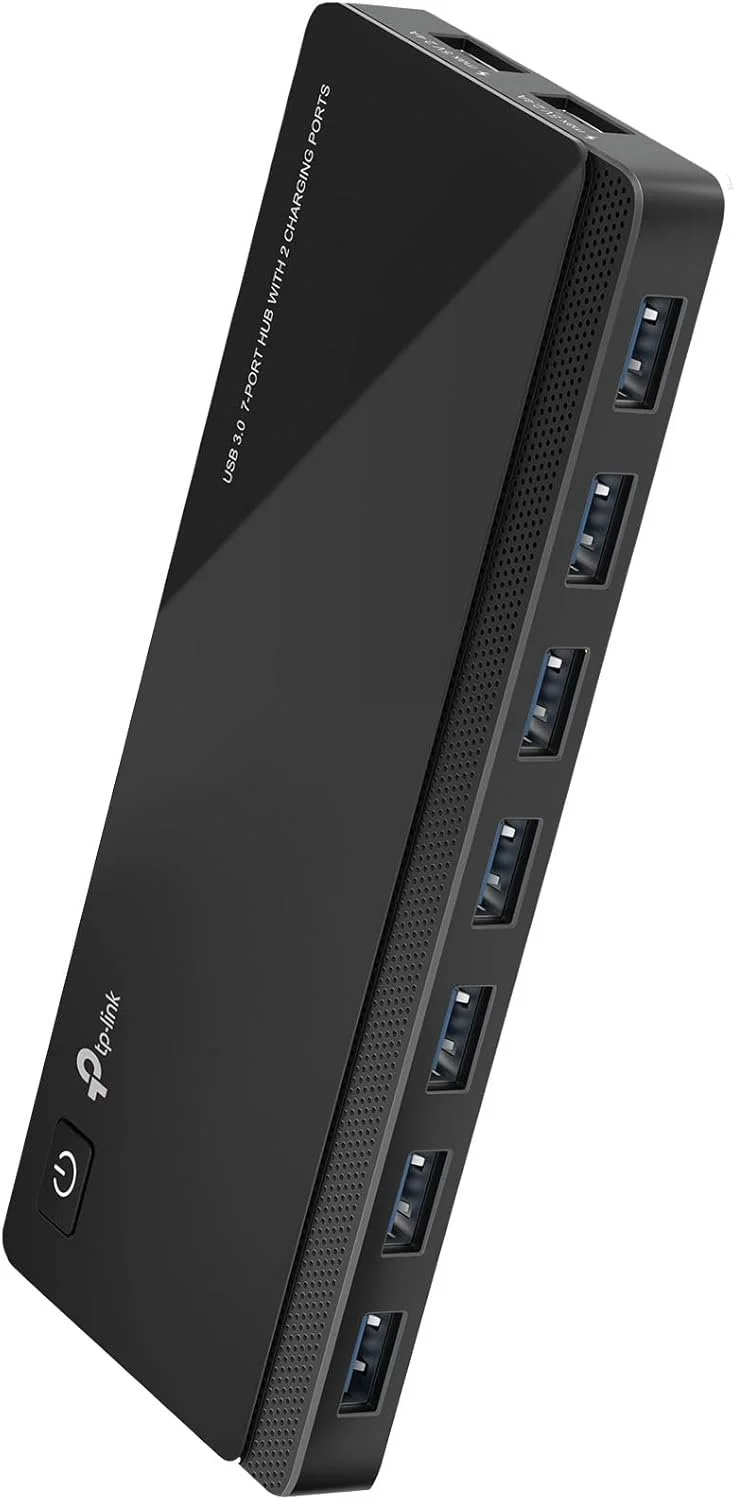
Ensure you have all your USB microphones and their corresponding cables. Crucially, if you lack sufficient USB ports, use a powered USB hub. Multiple microphones draw significant power, and an unpowered hub may not provide enough stable energy, leading to dropouts or devices not being recognized. We recommend the TP-Link Powered USB Hub.
Software Prerequisites: Updating Your Operating System and USB Microphone Drivers
Before you begin, make sure your Operating System is up to date. While most USB mics are driverless, check the manufacturer's website for any specific software that could improve performance or compatibility.
Define Your Goal: Combined Mono/Stereo vs. Multitrack Recording for Each Microphone
Decide if you want all microphone audio mixed into a single stereo track or if you need each microphone recorded on a separate channel for post-production editing. When editing a podcast or recording music, you'll typically want each microphone going to it's own individual track. This goal will influence which software or settings you choose.
Choosing Your Recording Software: DAWs like GarageBand, Audacity, or OBS Studio
Have your preferred recording software ready. Popular options include Audacity (free, cross-platform), GarageBand (free, Mac), and OBS Studio (free, for streaming and recording). The solutions below will create a virtual device you’ll select within this software.
The Mac Solution: Creating an Aggregate Audio Device
What is an Aggregate Audio Device? Combining Multiple Audio Inputs into One Virtual Device
macOS has a built-in feature that allows you to create an "Aggregate Device." Like audio interfaces, it's a virtual audio input that combines the physical inputs from all your connected USB microphones. Your recording software then sees this single device, resolving the conflict.
Step-by-Step Guide: Using Audio MIDI Setup (Utilities)
Connect all your USB microphones.
Open Audio MIDI Setup (found in Applications > Utilities).
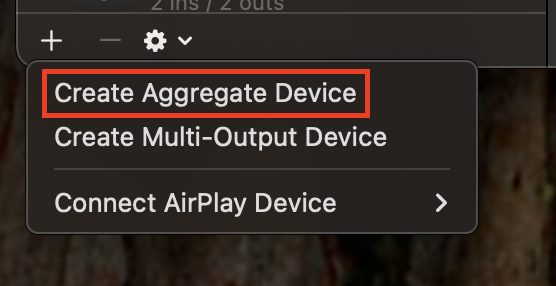
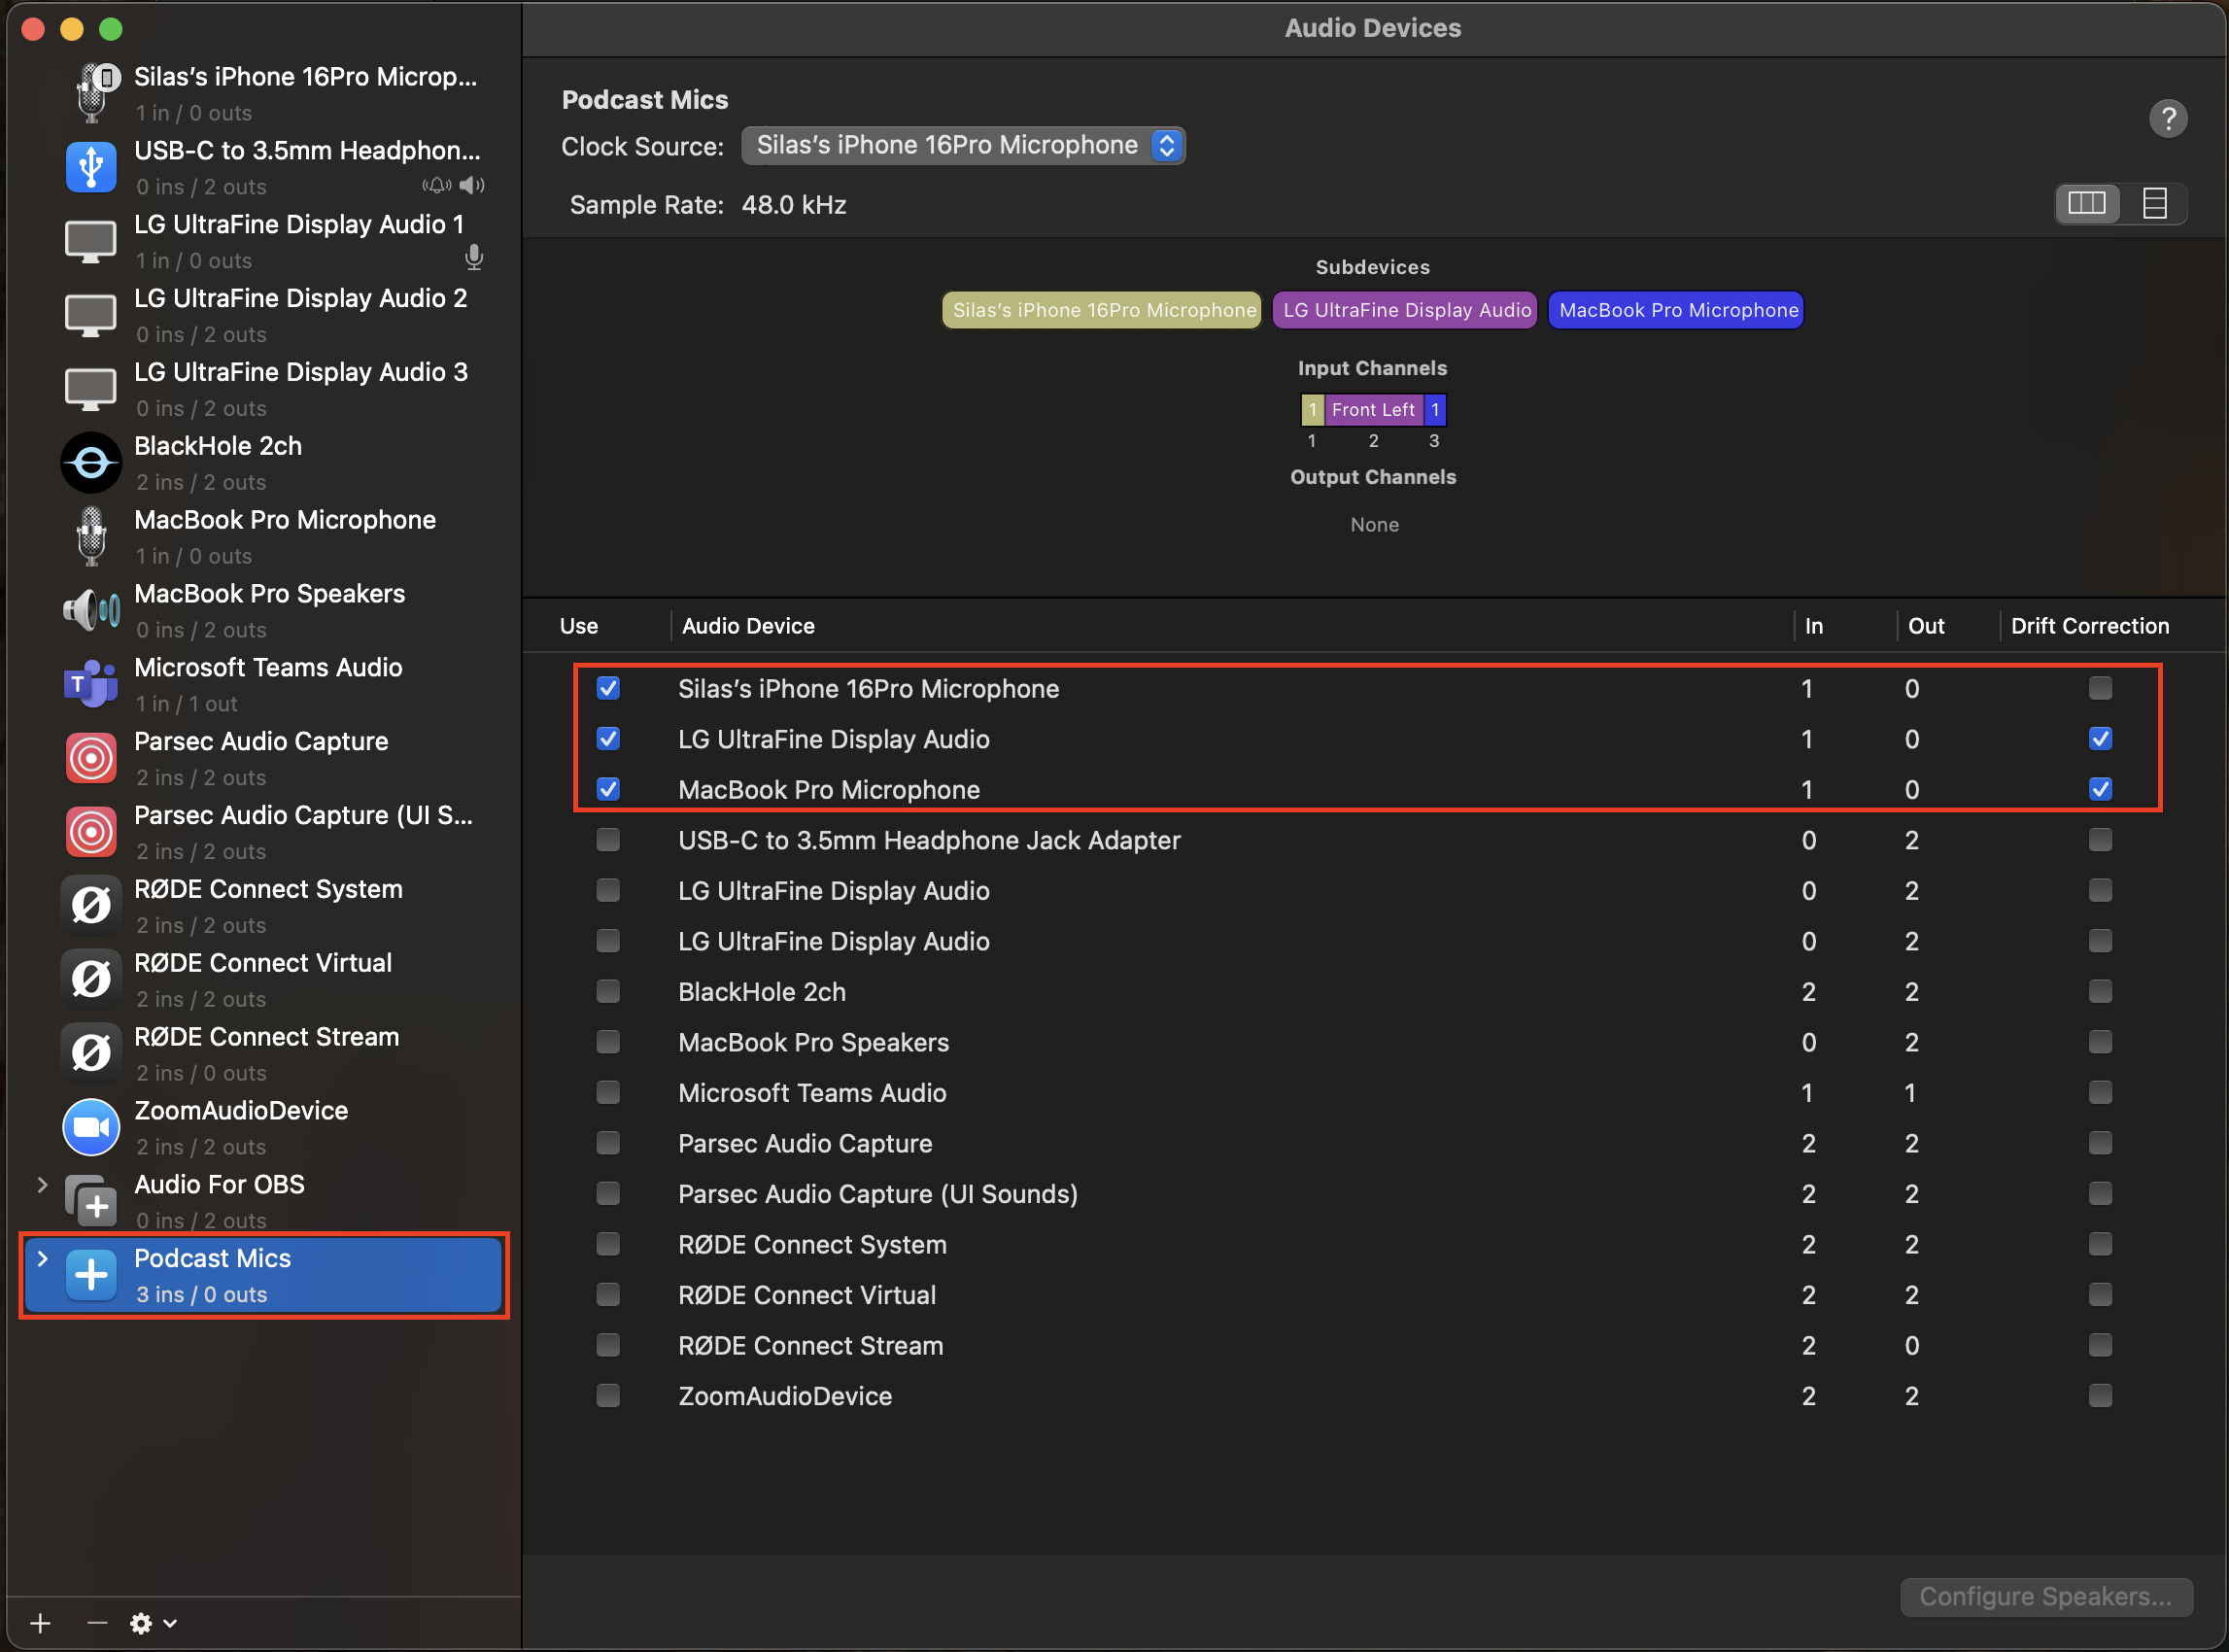
Click the "+" icon in the bottom-left corner and select Create Aggregate Device.
In the new window, check the boxes next to each USB microphone you want to include. The order you select them determines their input channel order.
Rename the new device to something memorable, like "Podcast Mics."
Integrating Your Aggregate Device with Recording Software
Open your recording software (e.g., GarageBand). In the audio preferences or settings, select your newly created "Podcast Mics" aggregate device as the audio input. You can now assign each input channel to a separate track for multitrack recording.
The PC Solution: Leveraging Virtual Audio Cables and Mixers
The Concept of Virtual Audio: Routing Audio Internally with Software Like Voicemeeter
Windows requires third-party software to achieve what Mac does natively. A virtual audio mixer like Voicemeeter acts as a digital hub, taking inputs from your physical USB mics and routing them into a single virtual output.
Step-by-Step Guide: Setting Up Voicemeeter Banana (or Similar Virtual Audio Software)
Download and install Voicemeeter Banana. Restart your PC after installation.
Open Voicemeeter. In the "HARDWARE INPUT 1" column, click "Select Input Device" and choose your first USB microphone.
In "HARDWARE INPUT 2," select your second USB microphone.
Ensure the "A1" button is selected for both input strips. This routes their audio to the main output. Use the volume faders under each input to set your initial levels.
Integrating Voicemeeter with Your Recording Software
In your recording software's audio settings, set your input/recording device to "Voicemeeter Output (VB-Audio Voicemeeter VAIO)." All audio from your microphones, mixed within Voicemeeter, will now be sent to your software as a single stereo track.
Advanced PC Considerations: When to Use ASIO4ALL for Low Latency Performance (If Applicable)
For musicians or users needing separate tracks and low latency on Windows, ASIO4ALL is a universal audio driver that can often recognize multiple USB devices simultaneously within compatible DAWs. It's a more complex setup but offers greater control for multitrack recording.
Recording with Multiple USB Microphones: Best Practices for Quality Audio
Gain Staging: Setting Optimal Levels to Prevent Clipping (Using VU Meters)
Adjust the gain for each microphone so that the loudest sounds peak around -6dB on the software's VU meters (Volume Unit meters). This provides enough headroom to avoid distortion (clipping) while ensuring a strong, clean signal.
Microphone Placement: Minimizing Sound Bleed and Maximizing Clarity
Position each microphone as close to the intended sound source as possible. This maximizes the voice-to-background-noise ratio and reduces the amount of sound from one person "bleeding" into another's microphone.
Monitoring Your Audio: The Importance of Headphones During Recording
Always wear headphones plugged into one of your microphones or your computer's headphone jack. This allows you to hear exactly what is being recorded, catching issues like clipping, background noise, or level imbalances in real-time.
Sample Rate Consistency: Ensuring All Devices and Software Match for Optimal Sound Quality
For best results, ensure the sample rate (e.g., 44.1kHz or 48kHz) is set to the same value in your operating system's sound settings, your virtual mixer software, and your recording application. If you are recording a video podcast, setting your sample rate to 48kHz will help you achieve the best results. Mismatched rates can cause audio artifacts.
Basic Post-Production Tips: Noise Gate, Compression, and EQ in Your Audio Editing Software
If you've recorded on separate tracks, use a noise gate to reduce background hiss when a person isn't speaking, apply light compression to even out volume levels, and use EQ to enhance vocal clarity for each speaker. Choosing the right audio editing software is crucial to achieving high-quality sound.
Troubleshooting Common Issues
If a microphone isn't detected, try a different USB port or reconnect it. If you hear an echo, ensure software playthrough is disabled in your OS sound settings and you're monitoring through only one source. For audio dropouts, confirm you are using a powered USB adapter and that no other high-bandwidth USB devices are competing for resources.
Frequently Asked Questions
-
Computers struggle to recognise multiple USB microphones because each one operates as an independent audio device with its own internal clock for timing audio samples. Most operating systems and recording software default to listening to only one device at a time. Resolving this requires either a built-in tool (Aggregate Device on Mac) or third-party software (Voicemeeter on Windows) that combines multiple microphones into a single virtual input device.
-
To connect multiple USB microphones on Mac, open Audio MIDI Setup from Applications > Utilities, click the plus icon, and select Create Aggregate Device. Tick the boxes for each connected USB microphone, name the device (such as "Podcast Mics"), and select it as the input source in your recording software. This built-in macOS feature combines multiple microphones into one virtual audio device.
-
To connect multiple USB microphones on Windows, install free software like Voicemeeter Banana, restart your computer, then open Voicemeeter and assign each USB microphone to a separate hardware input strip. Set the recording software's input device to "Voicemeeter Output." For more advanced multitrack recording with separate tracks per microphone, use ASIO4ALL with compatible DAWs like Reaper or Cubase.
-
Yes, a powered USB hub is highly recommended when connecting multiple USB microphones. Each microphone draws significant power, and standard unpowered hubs often fail to provide stable energy across multiple devices, causing dropouts, recognition failures, or recording glitches. Brands like TP-Link and Anker offer reliable powered hubs with seven or more ports, ensuring consistent power delivery for professional multi-microphone recording setups.
-
Yes, multitrack recording with separate tracks per microphone is possible on both Mac and Windows. On Mac, after creating an Aggregate Device, your DAW can assign each microphone input to its own track. On Windows, ASIO4ALL paired with multitrack-capable DAWs like Reaper, Cubase, or Audacity allows independent recording of each microphone. Multitrack recording offers significantly more editing flexibility in post-production.